Buying an SSL certificate is only the first step. Before a certificate authority will issue it you have to supply a certificate signing request and prove you control the domain. This article walks through the whole process in the client area, from configuring the certificate to downloading the issued files. It is for customers.
Before you start #
You need shell access to the server the certificate is for, so you can generate a private key and a CSR. The command below produces both:
openssl req -new -newkey rsa:2048 -nodes -keyout yourdomain.key -out yourdomain.csrAnswer the prompts with your organisation’s details. The Common Name must be exactly the hostname you want secured — www.example.com and example.com are different names.
Warning: Never paste your private key (
yourdomain.key) into the portal, or send it to anyone. Only the CSR is needed. The portal actively rejects a paste containing a private key, and there is nowhere in it that a key could be stored.
Step 1: open the certificate #
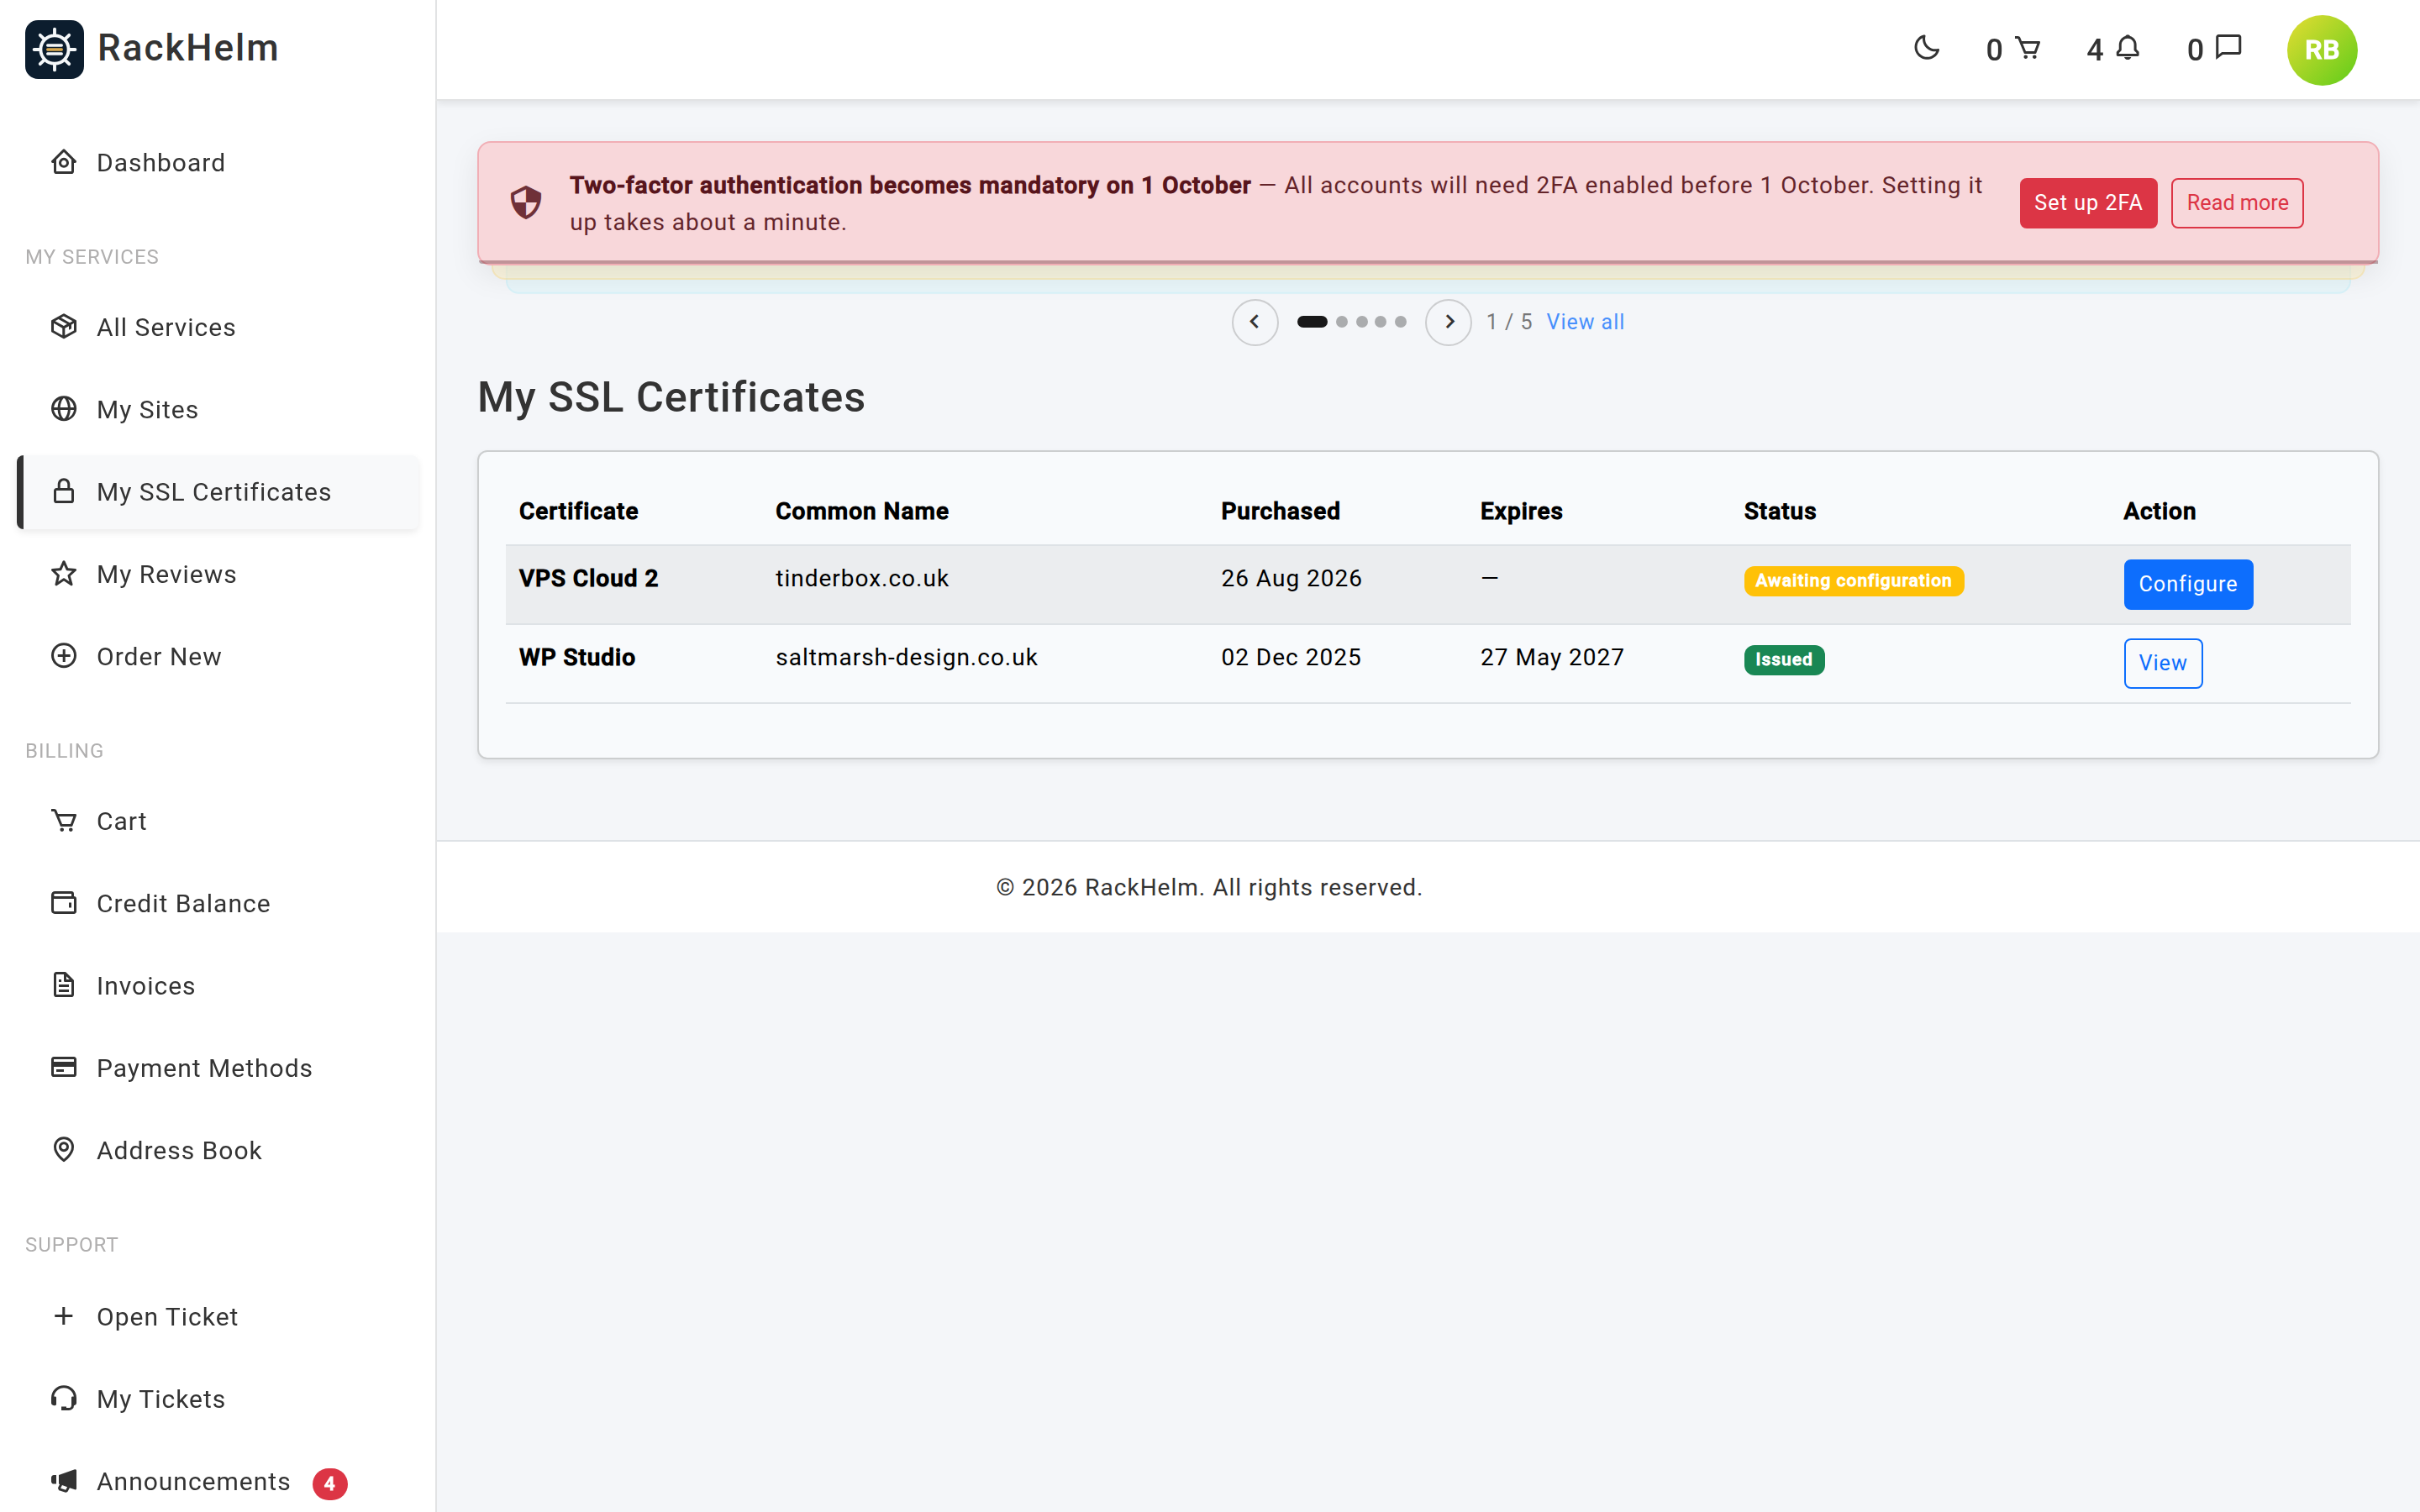
Go to SSL Certificates in the client area (/ssl). Each certificate shows its common name, purchase date, expiry and status. A new one shows a Configure button; press it.
Step 2: the configure wizard #
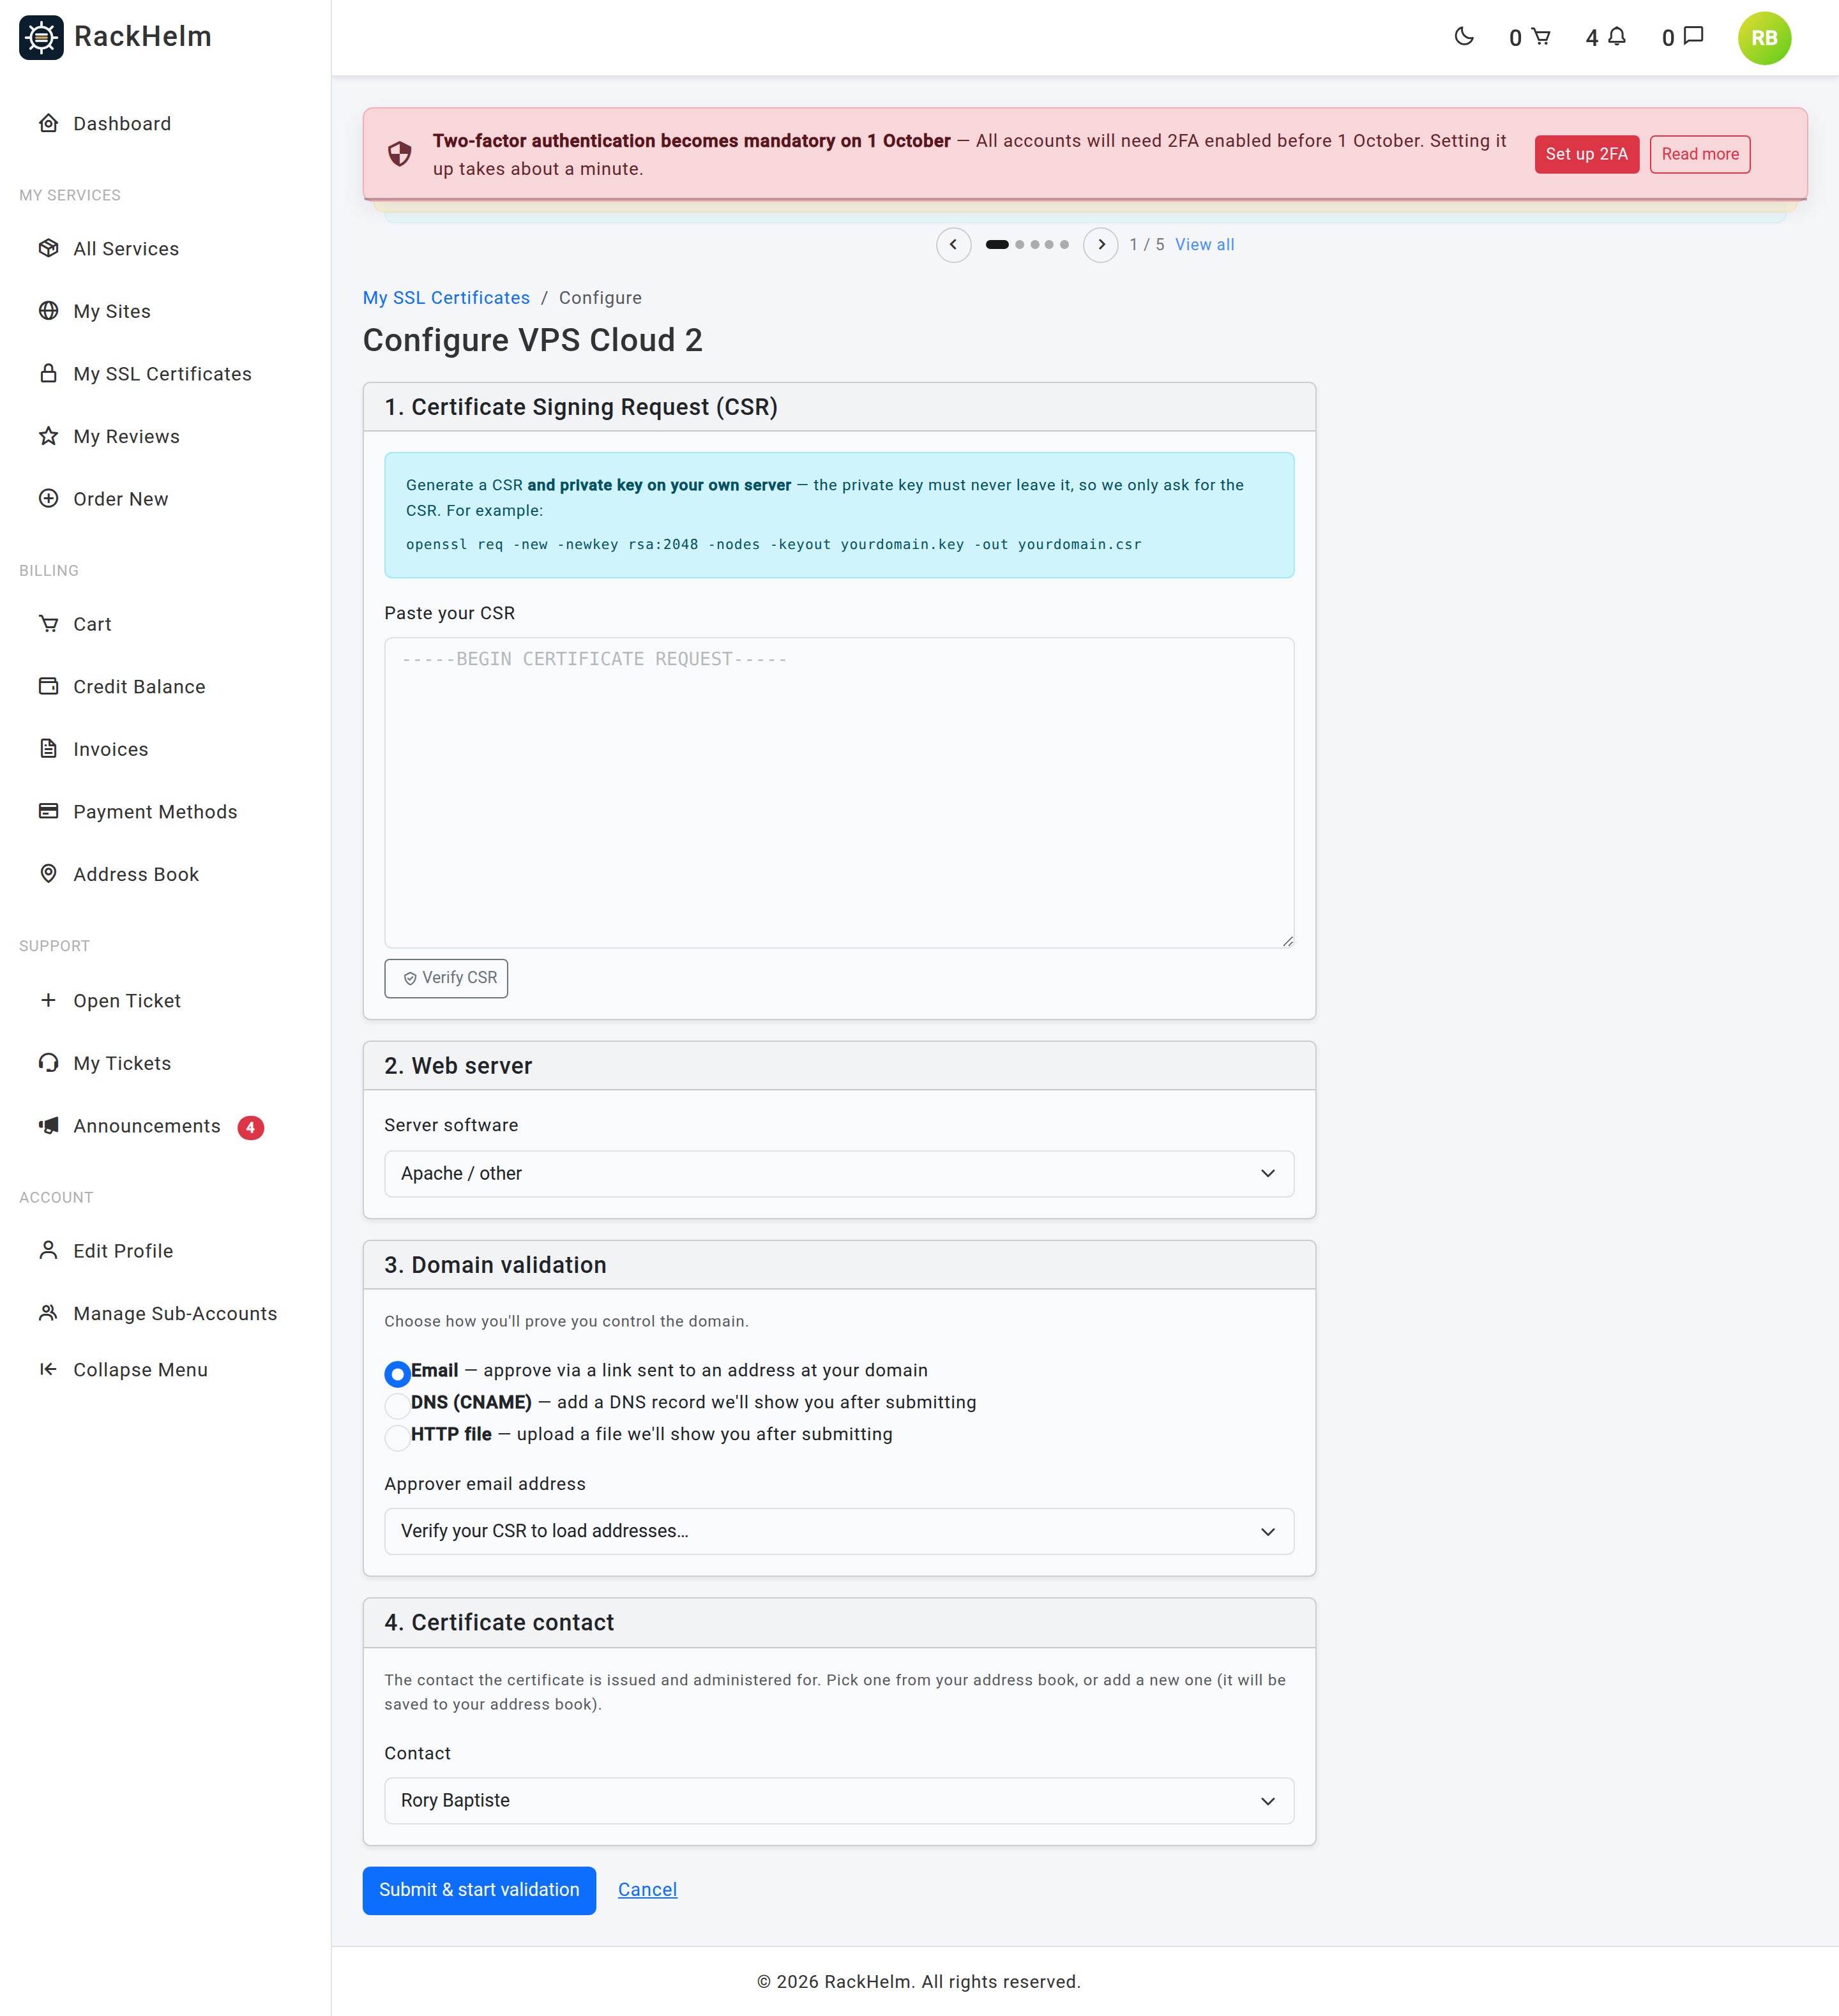
1. Certificate Signing Request (CSR) #
Paste the whole CSR, including the -----BEGIN CERTIFICATE REQUEST----- and -----END CERTIFICATE REQUEST----- lines. Press Verify CSR: the portal reads back the common name and key size so you can confirm you have pasted the right one.
2. Web server #
Choose Apache / other, Nginx or Microsoft IIS. This only affects the format the authority prepares; you can convert afterwards if you pick wrongly.
3. Domain validation #
Choose how you will prove you control the domain:
| Method | What you do | Best when |
|---|---|---|
| Approve a link sent to an address at your domain. Pick the address from the list — verifying the CSR loads the addresses the authority will accept. | You can receive mail at the domain. | |
| DNS (CNAME) | Add a CNAME record shown to you after submitting. | You control DNS but not mail. |
| HTTP file | Publish a small file at a path shown to you after submitting. | You control the web server. |
If you choose Email you must also choose an approver address — the form will not submit without one.
4. Certificate contact #
Pick a contact from your address book, or choose + Add a new contact… and fill in the details. A new contact is saved to your address book for next time. A snapshot of whichever contact you choose is kept with the certificate.
Press submit. You are taken to the certificate’s status page.
Step 3: complete validation #
The status page shows exactly what is outstanding for your chosen method.
- Email — the approval email has been sent to the address you chose. Click the link in it. If it does not arrive, press Resend approver email.
- DNS — add the CNAME record exactly as shown, with the given host and value. Allow time for DNS to propagate.
- HTTP file — create the file at the path shown, usually under
/.well-known/pki-validation/, with the exact contents given. It must be reachable over http or https at that exact path.
Changed your mind about the method? Use Switch validation method at the bottom of the panel; new instructions replace the old ones.
The portal checks with the authority on its own in the background. Refresh asks it to check right now — useful just after you have published a record or a file.
Step 4: download the certificate #
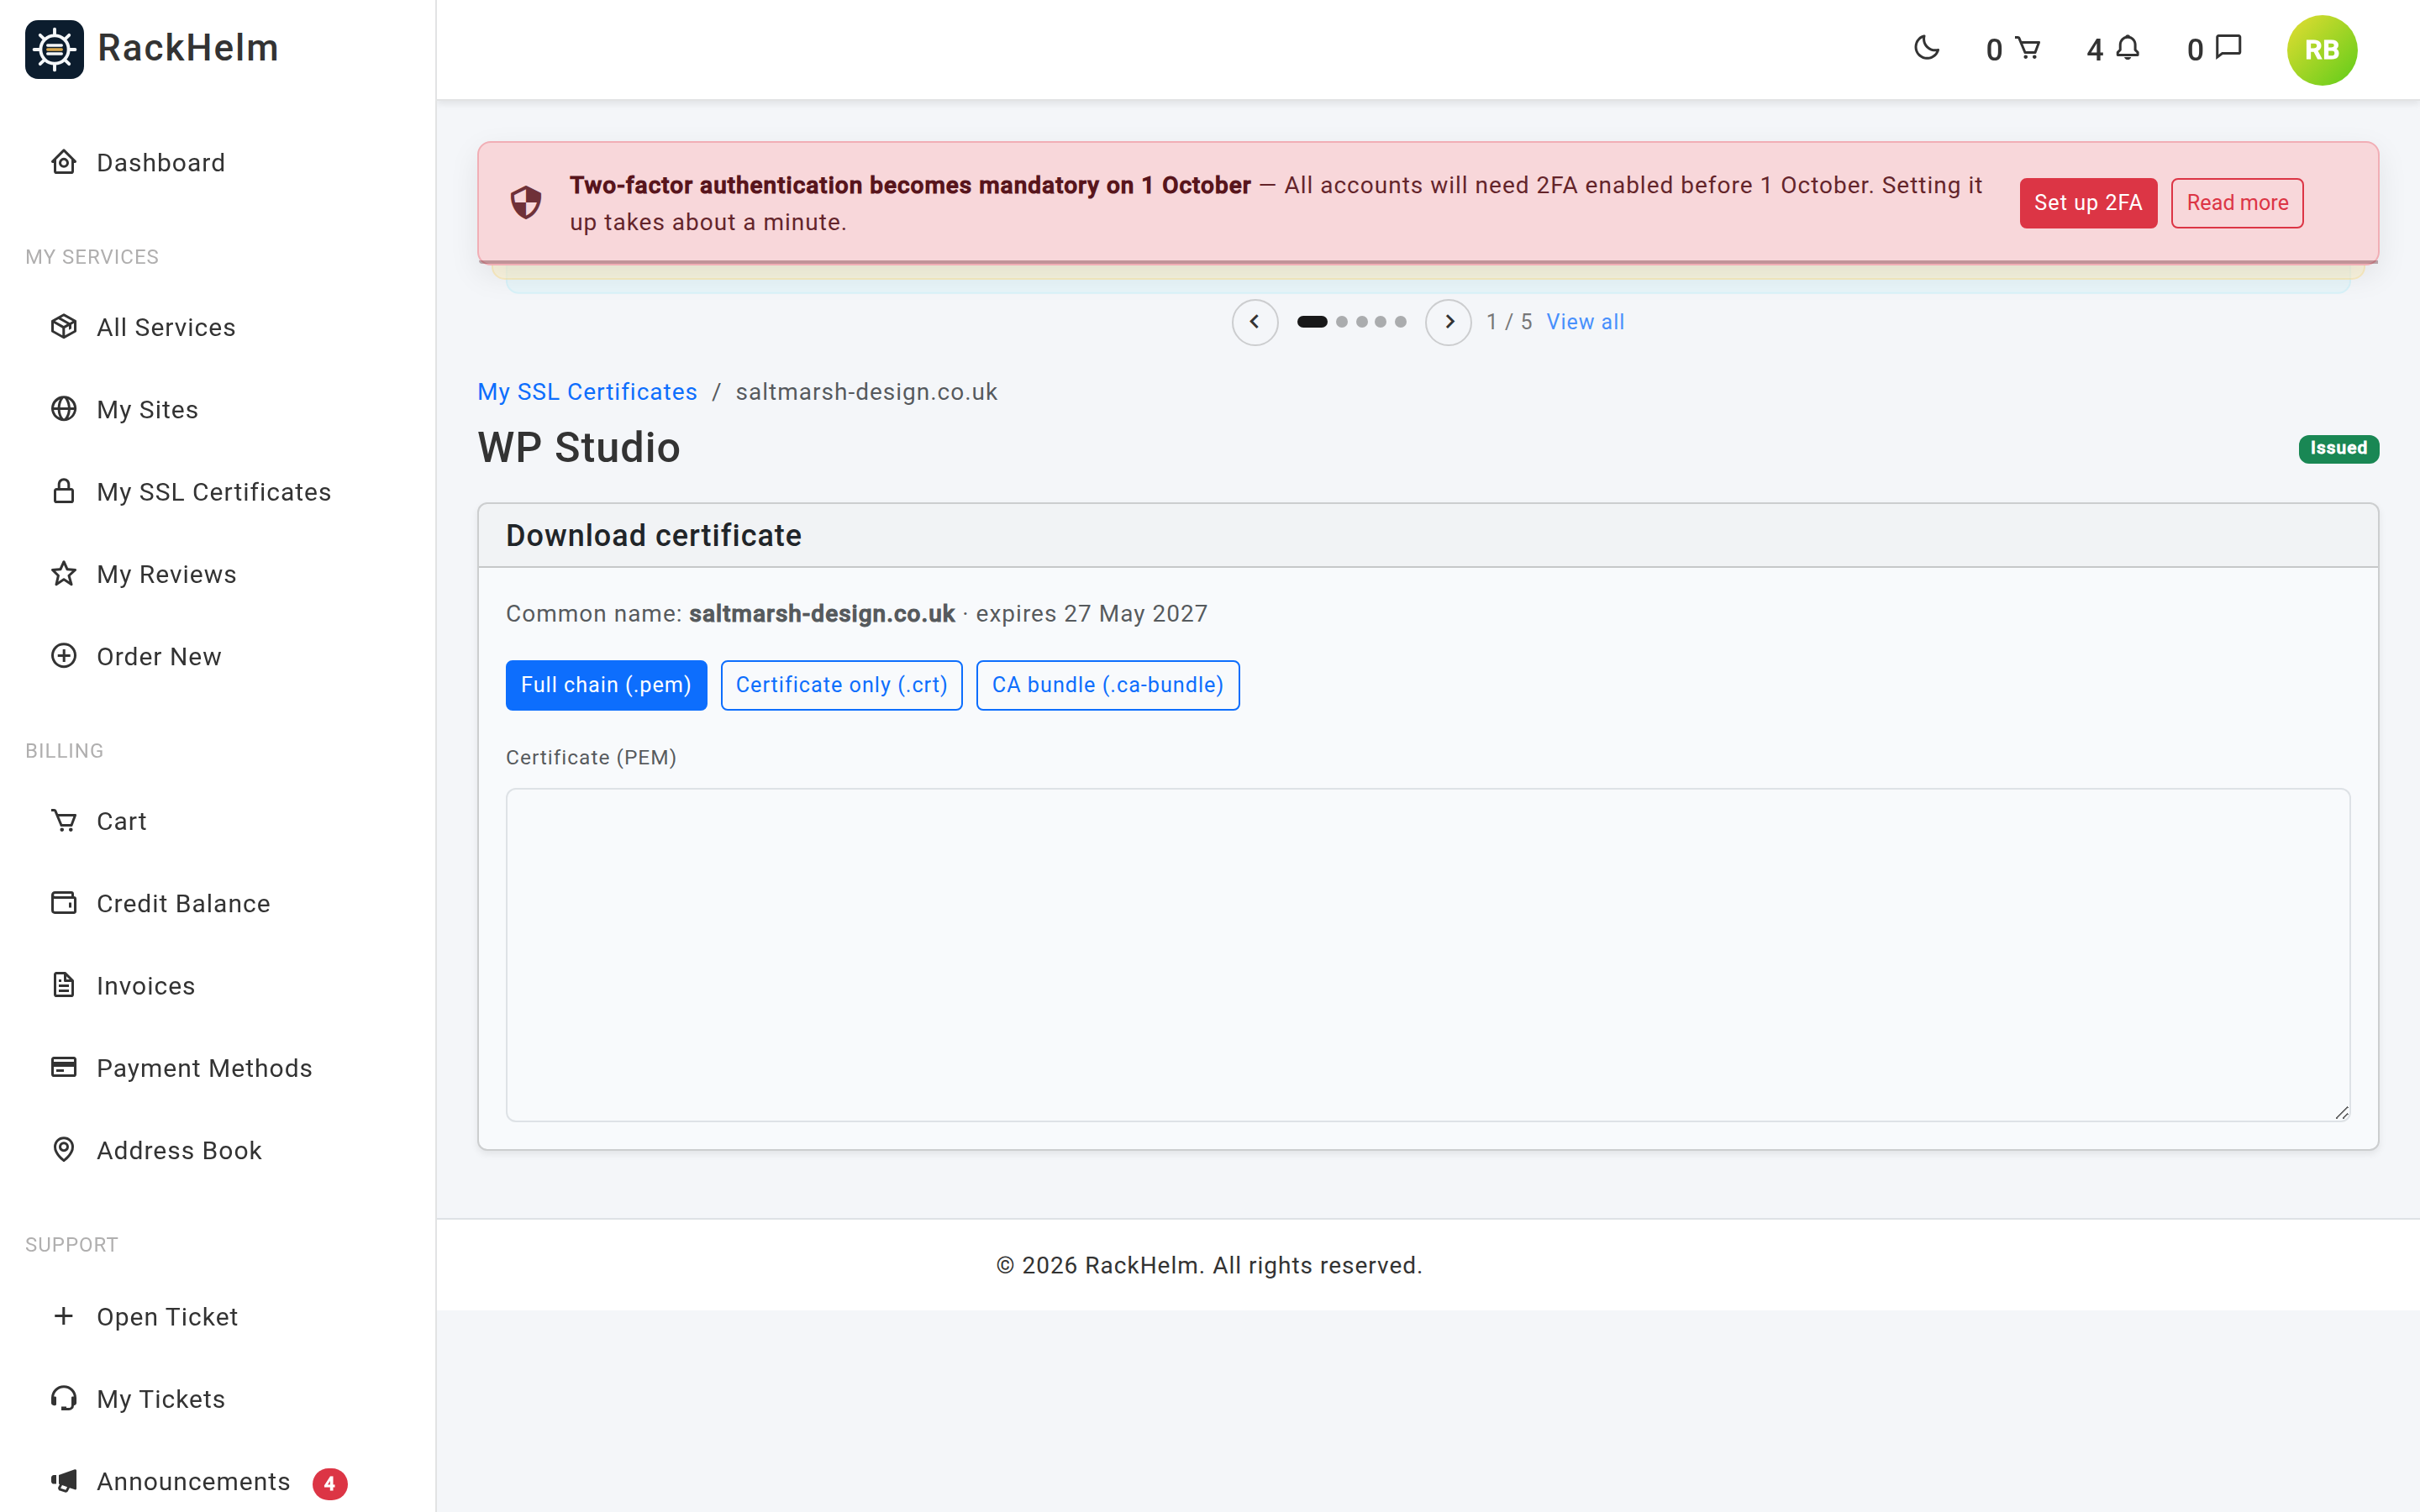
Once issued, the status page shows the common name, the expiry date and three downloads:
| Download | Contents | Use for |
|---|---|---|
| Full chain (.pem) | Your certificate followed by the CA bundle | Nginx, and most modern servers |
| Certificate only (.crt) | Your certificate alone | Apache and IIS, where the chain is configured separately |
| CA bundle (.ca-bundle) | The intermediate chain | The SSLCertificateChainFile half of an Apache configuration |
The certificate is also shown in a text box so you can copy it directly. Install it alongside the private key you generated in the very first step — that key never left your server, which is exactly as it should be.
Reissuing #
If you lose the private key, move to a different server or need a different common name within the same term, request a reissue with a fresh CSR. The certificate goes back through validation and you download the new files when it is issued. The expiry date does not change — a reissue does not extend the term.
Troubleshooting #
| Symptom | What to do |
|---|---|
| “Do not paste a private key…” | You pasted yourdomain.key instead of yourdomain.csr. Paste the CSR file’s contents. |
| “That does not look like a valid PEM CSR.” | The BEGIN or END line is missing. Copy the whole file including both marker lines. |
| “Could not parse the CSR.” | The CSR is malformed or truncated. Generate a fresh one with the openssl command above. |
| The approver email list is empty | Press Verify CSR first — the addresses are derived from the common name in the CSR. |
| “Choose an approver email address for email validation.” | Email validation needs an address. Pick one, or switch to DNS or HTTP validation. |
| The approval email never arrives | Check spam, then press Resend approver email. If the mailbox does not exist, switch to DNS or HTTP validation. |
| Validation is not detected after publishing the record or file | DNS takes time to propagate, and the file must be at the exact path with the exact contents. Wait, then press Refresh. |
| Status shows failed with an error message | The submission was rejected. The reason is shown; correct it and press Configure certificate to resubmit. |
| “This certificate can no longer be configured.” | It has already been submitted. Use the status page to change validation method or request a reissue. |
| Buttons stop responding for a minute | Verify, resend and refresh are rate-limited to stop accidental hammering of the certificate authority. Wait and try again. |
| Browser still warns after installing | The chain is probably missing. Use the Full chain download, or configure the CA bundle alongside the certificate. |


