- The scenario
- Step 1 — Create the custom field for seats
- Step 2 — Create the integration
- Step 3 — Finish the connection
- Step 4 — Allow the seats variable
- Step 5 — Build the provision call
- Step 6 — Preview, then send one real call
- Step 7 — Build the service page from the real reply
- Step 8 — Add the rest of the lifecycle
- Step 9 — Attach it to the product
- Step 10 — Place a real order and watch it
- Step 11 — Exercise the rest
- If something goes wrong
This walks through a complete Custom API integration from nothing to a live product: a fictional licence vendor with a small REST API, sold as a recurring product, with the licence key shown on the customer’s service page. Follow it once and the pattern transfers to any provider.
The scenario #
Acme Licences sells software licences through an API at https://api.acme-licences.example/v1, authenticated with a bearer token. Their calls are:
| Call | What it does |
|---|---|
POST /licences |
Issues a licence. Returns the licence id, the key, a state and an expiry. |
POST /licences/{id}/suspend and /resume |
Suspends and resumes a licence. |
POST /licences/{id}/renew |
Extends the term. |
DELETE /licences/{id} |
Revokes it. |
You sell it as “Acme Pro Licence”, with the number of seats chosen at checkout.
Step 1 — Create the custom field for seats #
Open Catalogue → Custom Fields and create a field with the key Seats, then attach it to the product so customers pick a value at checkout. This has to exist first: the Custom API allowlist can only offer keys that already exist as custom fields.
Step 2 — Create the integration #
- Open Integrations and select + Add custom API → Get started.
- Name:
Acme Licences. The machine name fills itself in asacme-licences. - Base URL:
https://api.acme-licences.example/v1. - Auth type:
bearer, and paste Acme’s token into API key / token. - Select Create & add endpoints.
A green banner shows the signing secret. Copy it now and send it to Acme through whatever secure channel you use — it cannot be read again. See Request signing for what they do with it.
Step 3 — Finish the connection #
On Overview, set Service noun to Licence so the customer’s page says “Your Licence is active” rather than “Your Service is active”, and pick an icon. Leave Active and the filter switch on.
On Connection, the defaults are fine for a small JSON API: 20-second response timeout, 10-second connect timeout, 64 KB response ceiling, signing on. Select Save Changes.
Step 4 — Allow the seats variable #
Open Data exposure, select Seats in the list, and save. Leave Allow password-like variables to be sent off — Acme needs no credential from the customer.
Skipping this step is the most common way to get stuck: the allowlist is fail-closed, so the provision endpoint below will refuse to save while Seats is not on it.
Step 5 — Build the provision call #
Open Endpoints, expand Provision and select Add call.
- Method:
POST - Path:
licences
Payload template:
{
  "customer": {
    "email": "{{ client.email }}",
    "name": "{{ client.name }}",
    "company": "{{ client.company }}"
  },
  "product": "{{ product.name }}",
  "seats": "{{ var.Seats }}",
  "reference": "{{ item.id }}",
  "ordered_at": "{{ item.created_at }}"
}
"seats": "{{ var.Seats }}" stands alone as an entire value, so it is sent as a number rather than a string.
Response map — assuming Acme reply with {"data": {"id": …, "key": …, "state": …, "expires": …, "seats": …}}:
{
  "external_id": "data.id",
  "licence_key": "data.key",
  "state": "data.state",
  "expires_at": "data.expires",
  "seats": "data.seats"
}
external_id and expires_at are the two reserved names: the first becomes the handle every later call uses, the second sets the service’s expiry.
Expected status: [200, 201]. Leave Success path blank unless Acme return 200 OK with a failure flag inside. Select Add endpoint.
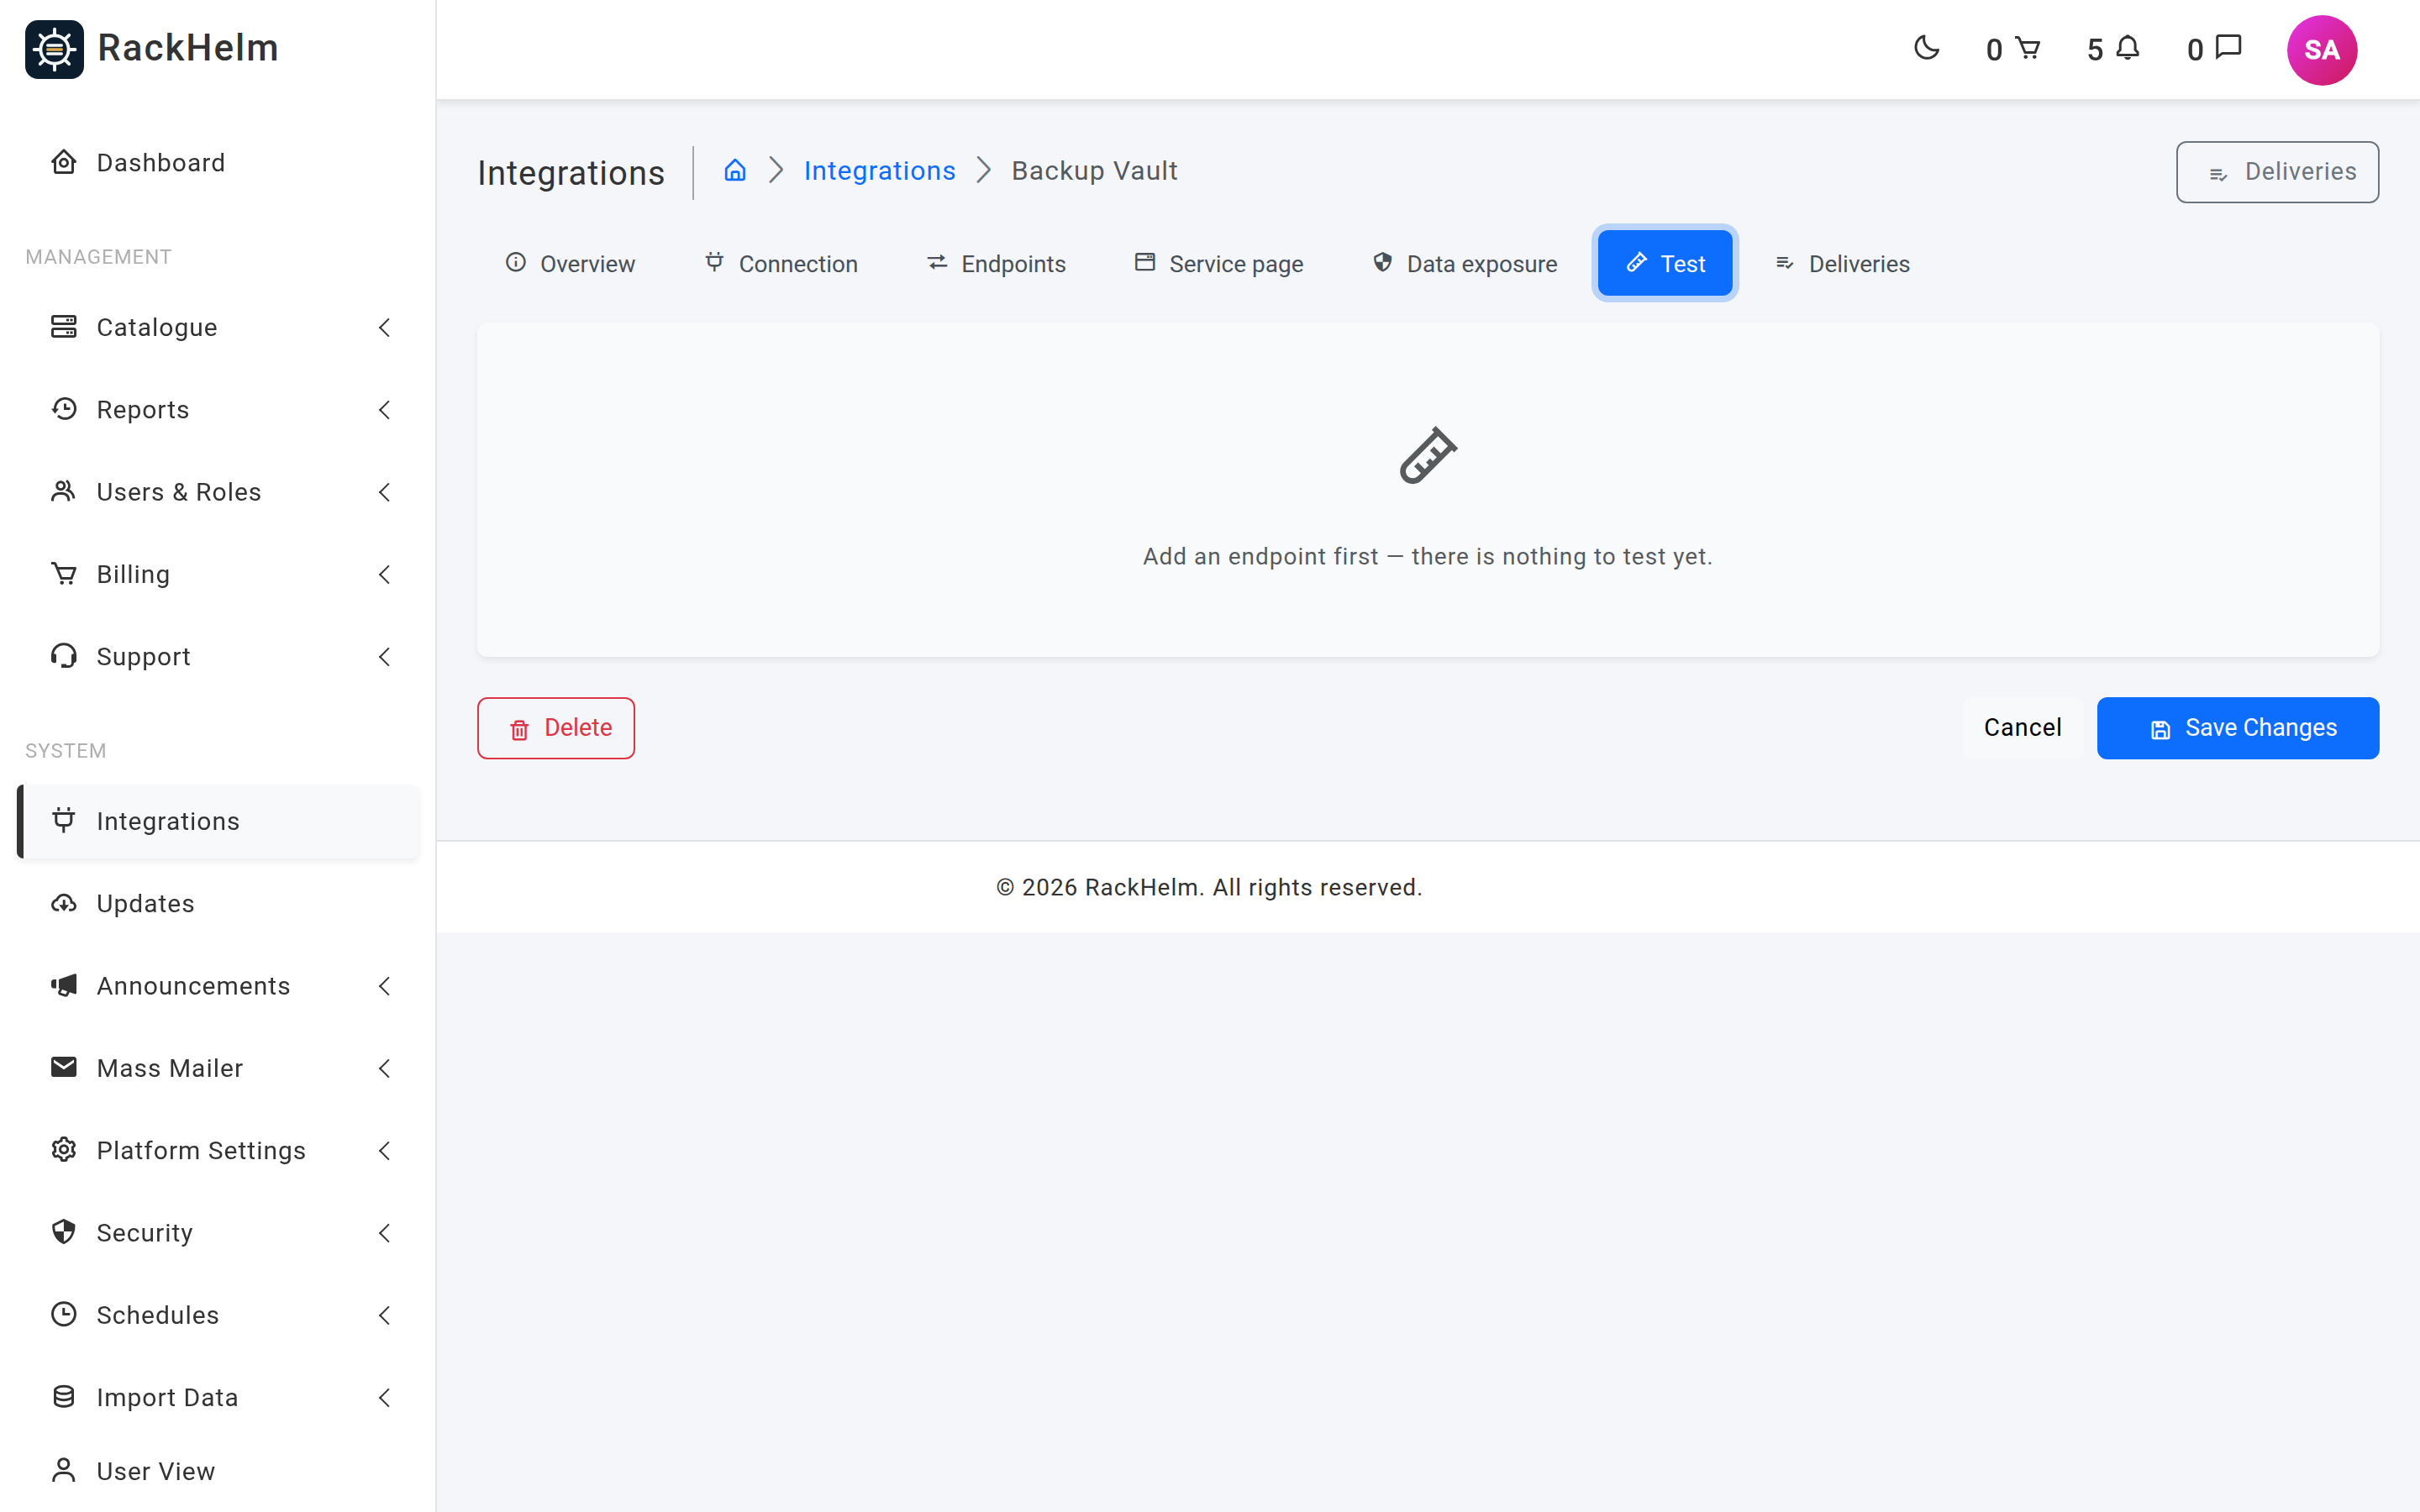
Step 6 — Preview, then send one real call #
Open Test. Pick the provision endpoint and any existing service to render against, then:
- Preview (sends nothing) — check the URL, the headers and the rendered body, and check that the unresolved-token list is empty. If
var.Seatsappears there, the service you picked has no seats value; pick a different one or add the field to that product. - Send test call — this really contacts Acme and writes a delivery. Do it once, deliberately, ideally against a service you can then clean up at their end.
Step 7 — Build the service page from the real reply #
Now that a genuine response is stored, open Service page → Read last response. RackHelm lists every path Acme actually returned with a sample of each value.
- Tick
data.key. It is auto-flagged as a credential and set to render as Secret — leave both, so the key is encrypted at rest and masked until the customer reveals it. Label itLicence Key. - Tick
data.state, label itStatus, and leave the suggested Badge rendering. - Tick
data.expires, label itExpires, rendering Datetime. - Tick
data.seats, label itSeats. - Select Add ticked fields & map them.
Then edit the Status field and give it a badge map so the state reads as a colour:
{"active": "success", "suspended": "warning", "revoked": "danger"}Step 8 — Add the rest of the lifecycle #
Back on Endpoints, add four more calls. Each addresses the licence by the identifier captured at provision time.
| Event | Method | Path | Payload |
|---|---|---|---|
| Suspend | POST |
licences/{{ item.external_id }}/suspend |
{"reason": "non-payment"} |
| Unsuspend | POST |
licences/{{ item.external_id }}/resume |
empty |
| Renew | POST |
licences/{{ item.external_id }}/renew |
{"months": "{{ order.billing_cycle_months }}"} |
| Terminate | DELETE |
licences/{{ item.external_id }} |
none — DELETE here needs no body |
Give the renew call a response map of {"expires_at": "data.expires"} so the portal’s expiry date follows Acme’s after every renewal.
Tip: Use the Captured from this service buttons in the token palette rather than typing
{{ item.external_id }}by hand. They only appear once something actually captures the value, which is a useful check in itself.
Step 9 — Attach it to the product #
Open Catalogue → Catalogue & Groups, edit Acme Pro Licence, choose Custom API as the integration and pick Acme Licences. The help text under the dropdown confirms the service noun and the endpoint count. Save.
Step 10 — Place a real order and watch it #
- Place an order for the product (an admin-created order against a test client is fine).
- Open the integration’s Deliveries tab. A
provisionrow should appear and go tosuccesswithin seconds. If it sits onpending, your queue worker is not running. - Open Details and confirm the unresolved-token list is empty.
- Open the customer’s service page. You should see the status badge, the expiry, the seat count, and the licence key masked behind a Reveal button.
Step 11 — Exercise the rest #
Suspend the package from the admin, confirm a suspend delivery lands and Acme show the licence suspended; unsuspend and confirm the reverse. Request cancellation to confirm nothing breaks when an event has no endpoint — you configured no cancellation_requested call, so RackHelm records the cancellation and calls nothing, which is the intended behaviour.
Finally, terminate the test package. Terminate is the one call whose failure is worth watching for: a licence billed as terminated but still live at the provider costs money every month until somebody notices.
If something goes wrong #
| Symptom | Where to look |
|---|---|
| The endpoint will not save because of a variable | Data exposure — add the key, then save the endpoint again. |
| The service is marked failed after ordering | Deliveries, the provision row, Details. Fix, then use Force Provision on the package. |
| Suspend and terminate fail although provision worked | Nothing captured external_id. Check the provision endpoint’s response map against the real reply. |
| The licence key box is empty on the service page | The field’s attribute name and the response-map key do not match — the fields table shows a not captured badge when that happens. |
| Acme reject the signature | Request signing — most often the body is being re-serialised before hashing. |


