Most customer accounts create themselves through your public registration form. You will still need to create one by hand from time to time — a migrated customer, an account taken over the phone, a test account — and you will regularly need to edit one. Both happen on the same screens.
Before you start #
Note: Creating an account requires
create_clients; editing requiresedit_clients; deleting requiresdelete_clients. Assigning roles is separate again — see the warning below.
Creating a client #
- Open Users & Roles → All Users and select New User.
- Fill in the form and select Create User. You are returned to the list with “User created successfully.”
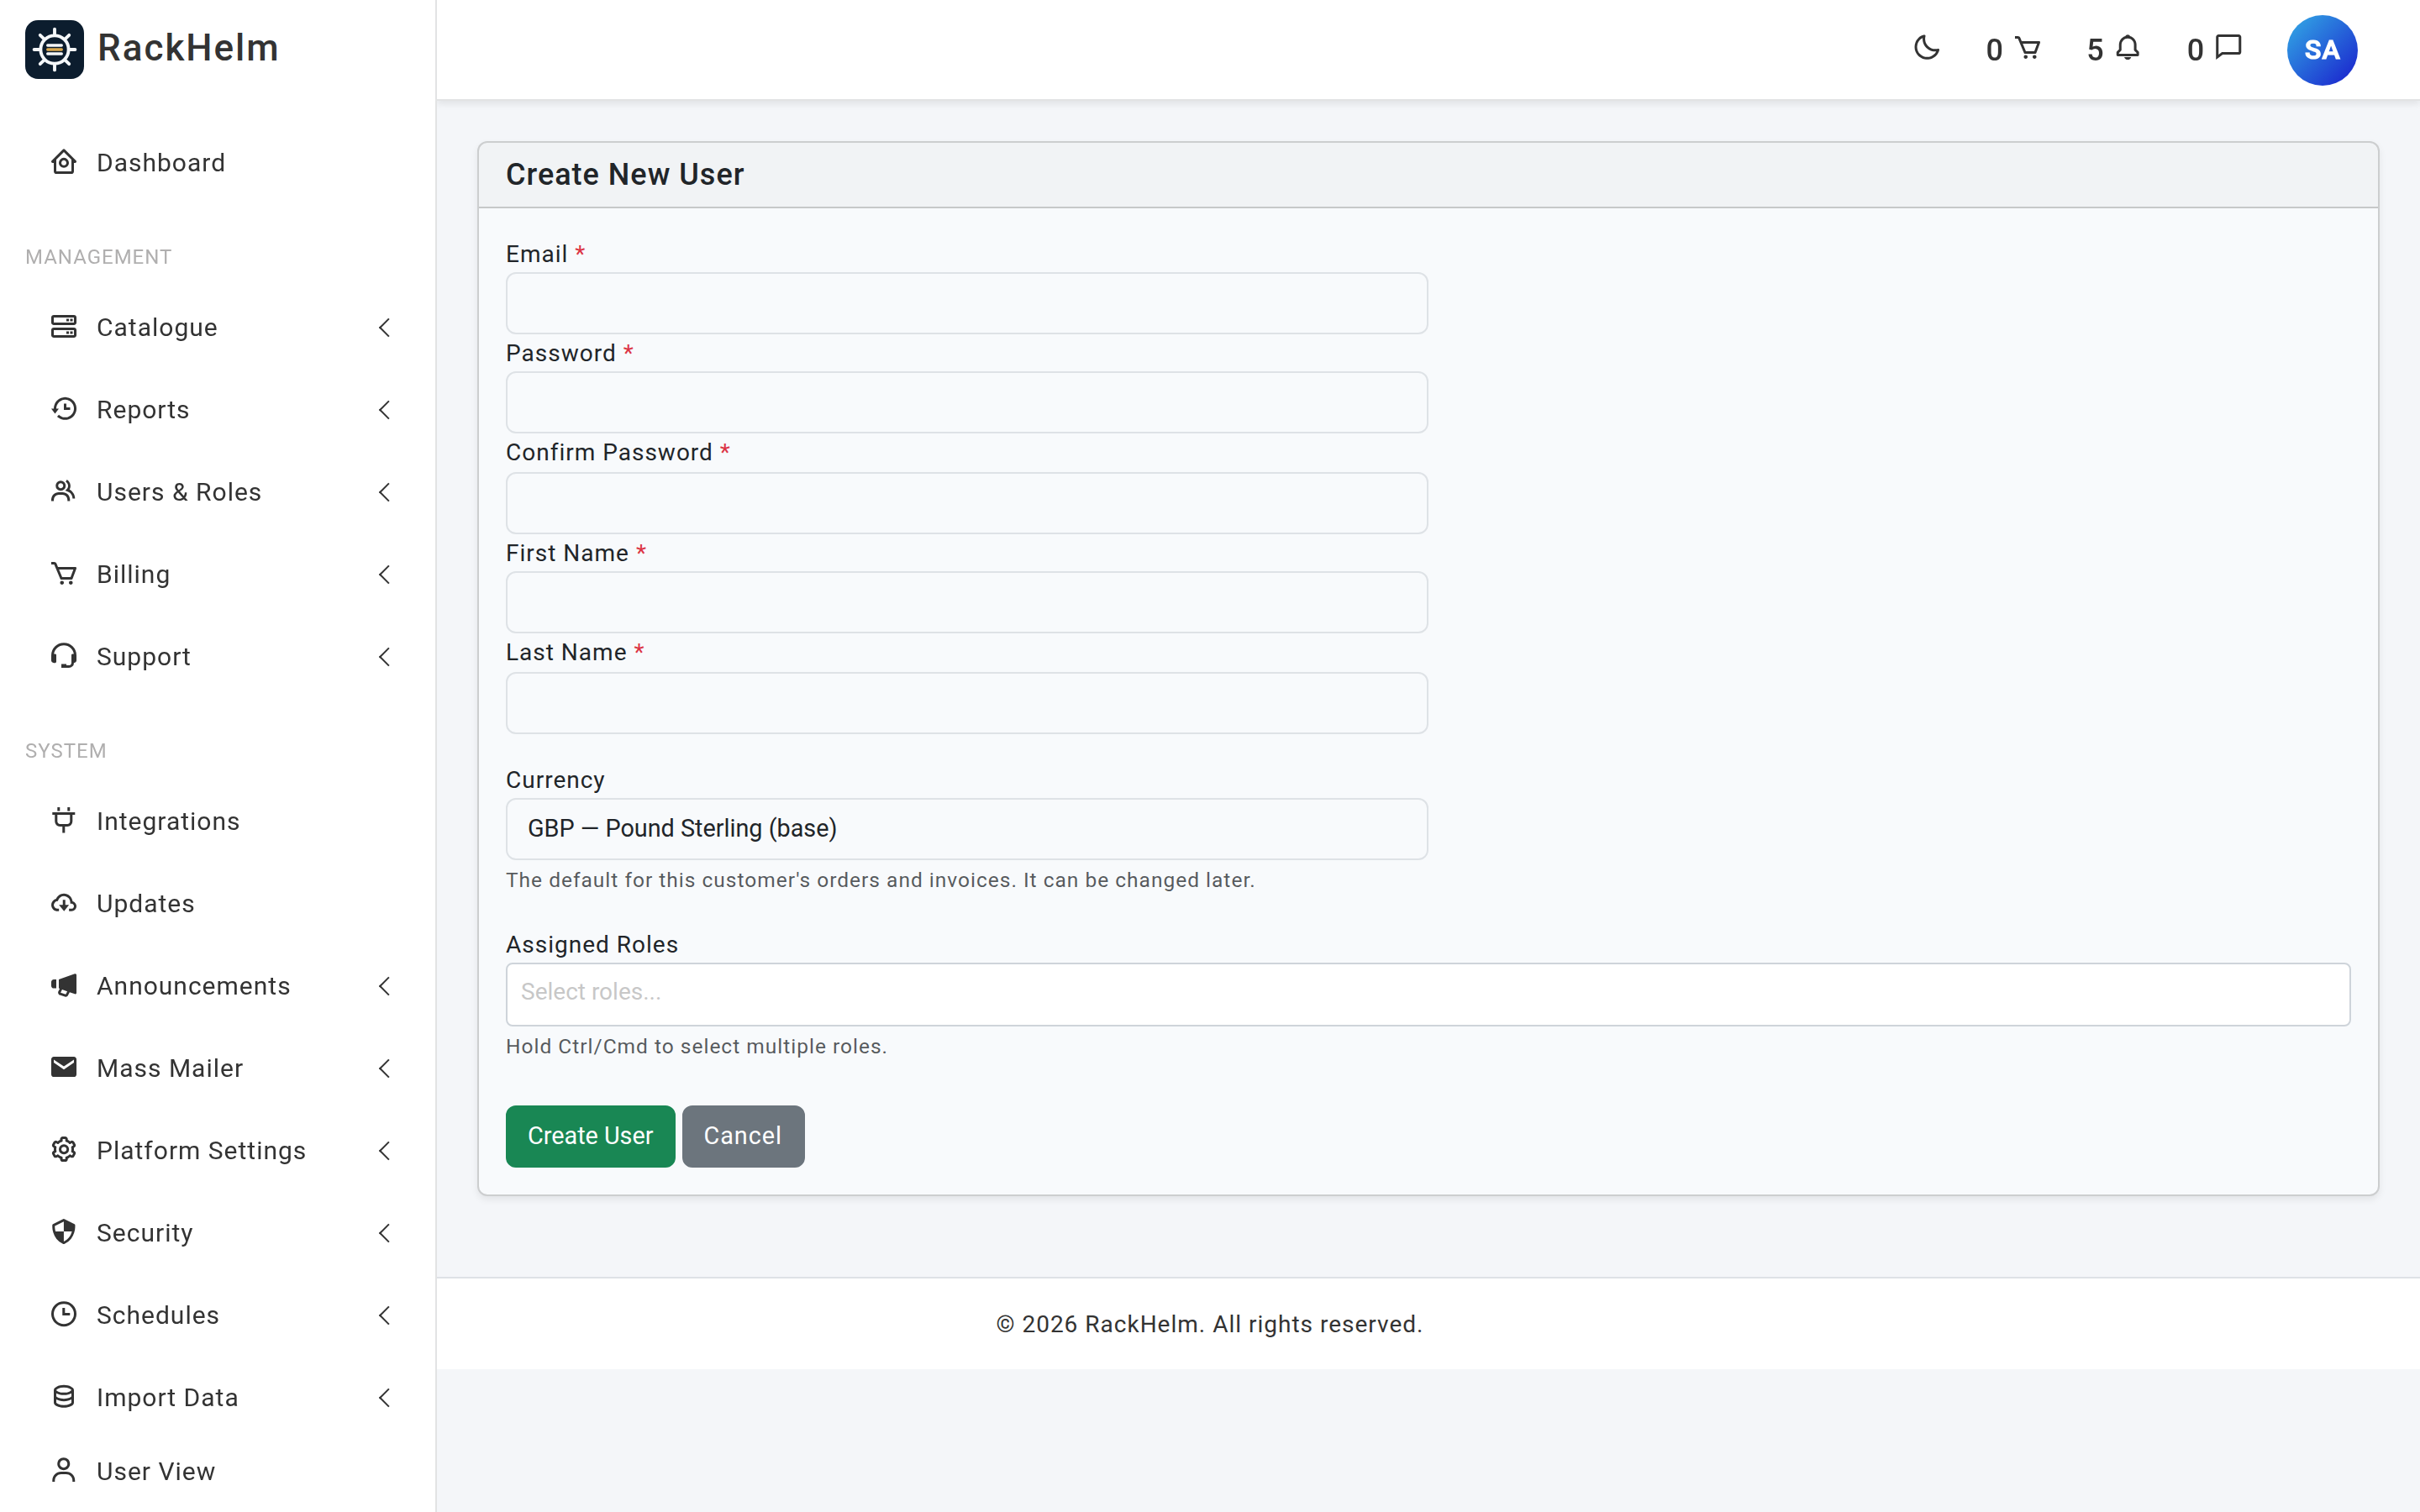
| Field | Rules |
|---|---|
| Required, must be a valid address and must not already exist on any account — including guest and sub-account rows. | |
| Password / Confirm Password | Required, at least 8 characters, and the two must match. |
| First Name / Last Name | Required, up to 255 characters each. |
| Assigned Roles | Optional, multi-select. Only honoured if you are permitted to assign roles. |
Warning: This screen creates the account silently. No welcome email is sent, no verification message is sent, and the address is left unverified — so the customer will be held at the “verify your email” notice on first sign-in until they request a link. Tell them the password out of band, and expect them to verify before they can use the portal.
Editing a client #
Select Manage on the row, or the customer’s name. The Contact tab holds the editable identity fields; every other tab is a different part of their account.
| Field | What it does |
|---|---|
| Required and unique. Changing it clears the verification stamp, so the customer must verify the new address before the portal will let them back in. | |
| Password / Confirm Password | Leave both blank to keep the current password. To set a new one, type it twice — minimum 8 characters. The customer is not emailed about the change. |
| First Name / Last Name | Required. |
| Assigned Roles | Multi-select. Saving takes effect immediately — the account’s cached permissions are cleared on save rather than expiring later. |
Warning: Saving the Contact tab clears the account’s affiliate flag, because the affiliate controls now live on the Affiliate tab and the Contact form does not submit them. Existing tracking codes are kept. If the customer is an active affiliate, re-enable them afterwards by generating a tracking code on the Affiliate tab, which sets the flag again.
Who may change roles #
Role assignment is guarded separately from ordinary editing, and the guard is strict:
- You cannot change the roles on your own account, at all.
- You cannot grant or remove the Super Admin role unless you are a Super Admin.
- You cannot assign a role that ranks at or above your own highest role.
- In a default installation the underlying capability is held by Super Admin accounts only. For anyone else the Assigned Roles box still renders and still saves the rest of the form, but the role selection itself is ignored.
Tip: If a role change appears not to have saved, check who made it. Have a Super Admin apply it, or grant the role-assignment capability deliberately from Roles & Permissions.
The rank barrier #
Every action on somebody else’s account — opening a tab, saving the form, adjusting credit, deleting — is checked against the role hierarchy. You may only act on an account whose highest role sits strictly below your own. Customers hold the bottom-ranked client role, so all staff can manage them; a Billing Manager cannot touch an Administrator; nobody but a Super Admin can touch a Super Admin.
Deleting a client #
- Use the kebab menu on the row in All Users, or the Delete button in the profile header.
- Confirm the browser prompt. The deletion is immediate.
RackHelm refuses to delete a Super Admin account, refuses to let you delete your own account, and applies the rank barrier. Deleting a parent account also removes its sub-accounts, because those rows hang off the parent.
Warning: Prefer cancelling services and letting the account sit dormant over deleting it. Orders and invoices are kept for audit when a package is removed, but deleting the account itself takes the person’s sub-accounts and their whole sign-in history with it. Their addresses and stored payment methods are not cascaded — those rows are left behind pointing at an account that no longer exists.
Troubleshooting #
| Symptom | Cause and fix |
|---|---|
| “The email has already been taken.” | The address exists on some account — often a guest row created by a support email, which the default list view hides. Check the Guests pill before creating a duplicate. |
| The customer cannot sign in after you changed their email. | Changing the address clears verification. They must click the verification link sent to the new address. |
| Roles did not change after saving. | You either edited your own account, tried to assign a role at or above your own rank, or do not hold the role-assignment capability. See “Who may change roles” above. |
| “You do not have permission to manage Super Admin accounts.” | The target is a Super Admin. Only another Super Admin can act on it. |
| “Super Admin accounts cannot be deleted.” | By design. Remove the Super Admin role first, from another Super Admin account. |
| The affiliate stopped earning commission after an edit. | The Contact tab cleared the affiliate flag. Generate a tracking code on the Affiliate tab to restore it. |


